
2026-07-28 · 9 min read
Can You Restore a Blurry Photo from Google Search? (2026 Guide)
Short answer: No, you cannot restore a blurry photo directly from Google Search. Google Search doesn’t store or process your original image files—it only indexes publicly accessible web pages and thumbnails. If you found a blurry version of a photo via Google Images, that’s likely a low-resolution, compressed, or heavily downscaled copy. But don’t worry: with today’s AI tools in 2026, you can still restore clarity—if you have access to the original file or a higher-quality source.
This guide walks you through exactly what’s possible (and what’s not) when trying to restore blurry photo from Google search, why the misconception persists, and—most importantly—how to get real results using modern AI photo enhancers like Pixelift. We’ll cover realistic workflows for photos saved in Google Photos, Google Drive, or even screenshots pulled from search results—and show you which steps actually work in 2026.
Why You Can’t Restore a Blurry Photo Directly from Google Search
Let’s start with the hard truth: Google Search has no restoration capability. It’s a discovery engine—not an editing suite. When you type “my graduation photo 2012” into Google Images, you’re seeing cached thumbnails scraped from websites, blogs, or social posts. These are often:
- Resized to fit display grids (e.g., 300×200 pixels), losing fine detail
- Compressed with aggressive JPEG algorithms (introducing blur, halos, and color banding)
- Stripped of EXIF data, metadata, and original resolution info
- Served over HTTPS with
no-cacheorimmutableheaders—meaning you can’t even reliably right-click → “Save image as” in high fidelity
This isn’t a limitation of Google—it’s by design. As noted in the Google Search Central documentation, indexing prioritizes speed, relevance, and crawl efficiency—not pixel-perfect archival fidelity.
So if you see a blurry version of your photo on Google Images, that’s usually the *lowest-common-denominator* version available online—not the best one you own.
What *Can* You Do to Restore a Blurry Photo in 2026?
The good news? You almost certainly already have a better version somewhere—especially if you’ve used Google’s ecosystem. Here’s where to look first, ranked by restoration potential:
✅ 1. Check Google Photos (Highest Success Rate)
Google Photos automatically backs up your device gallery—often at full resolution (up to 16MP free tier, or original quality with Google One). Even if the thumbnail in Google Search looks blurry, your original upload is likely intact.
How to verify:
- Open photos.google.com
- Use the search bar: try names (“Mom birthday”), dates (“June 2018”), or objects (“dog park”)—not just keywords
- Click any result → tap the three-dot menu → “Info” → check “Photo details” for resolution and upload date
If the resolution reads “Original” or shows ≥ 2000px width, you’ve hit the jackpot. That file is perfect for AI restoration.
👉 For step-by-step guidance on enhancing these directly, see our Best AI Photo Restorer for Google Photos in 2026 guide.
✅ 2. Search Google Drive (Especially Scanned Old Photos)
Many people scan old prints and dump them into Google Drive folders labeled “Family Archives” or “Scans 2020”. These files are often saved as JPEGs or PNGs—but rarely optimized for web. Even if they appear grainy or slightly out-of-focus, they retain far more structural data than a Google Images thumbnail.
Pro tip: Use Drive’s advanced search operators:
type:jpg after:2015-01-01 before:2019-12-31name:"graduation" OR name:"wedding"size:<10MB(to filter out obviously compressed uploads)
Once you locate the file, download it—and run it through an AI enhancer. In 2026, tools like Pixelift recover sharpness, reduce noise, and reconstruct lost edges even from moderately degraded scans.
📘 Learn the full workflow: How to Restore Old Photos from Google Drive in 2026.
✅ 3. Recover From Device Storage (iOS/Android Gallery)
If you took the photo yourself—even years ago—it may still live in your phone’s native gallery, especially if you disabled auto-backup or use third-party cloud apps. On Android, check:
DCIM/Camera/folder (look for .HEIC or .JPEG files dated near the event)- “Recently deleted” albums (recovery window: up to 30 days)
- Third-party apps like Dropbox or Samsung Gallery backups
iOS users: check the “Recently Deleted” album in Photos app, or search Files app for “IMG_” + year. Many older HEIC files contain rich depth and color data—ideal for AI upscaling and sharpening.
📱 For Android-specific enhancement tips, see our Top AI Enhancer for Android — Pixelift Review (2026).
How AI Photo Restoration Actually Works in 2026
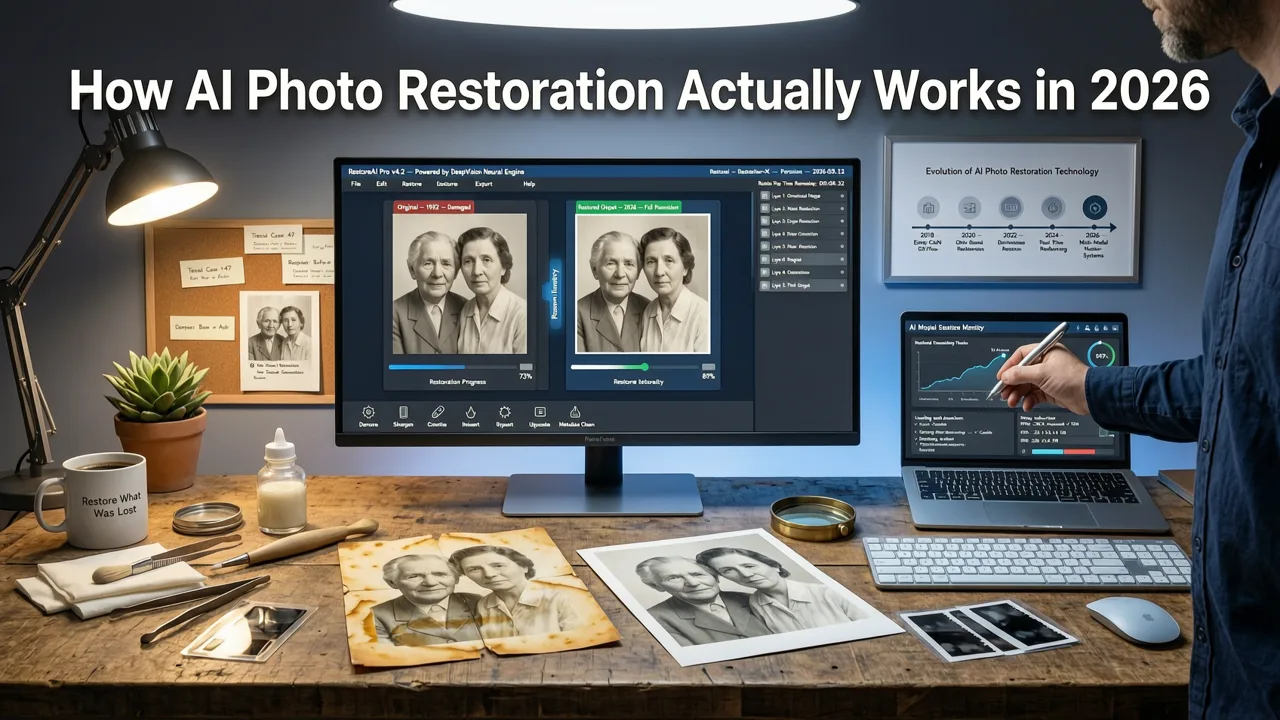
Gone are the days of simple unsharp masking or noise reduction sliders. Modern AI photo restorers like Pixelift use multi-stage neural architectures trained on millions of paired images (blurry ↔ sharp, low-res ↔ high-res, faded ↔ vibrant). Here’s what happens under the hood in 2026:
🔍 Stage 1: Input Analysis & Artifact Detection
Within <1 second, Pixelift analyzes your upload to identify:
- Type of blur (motion, defocus, Gaussian, or compression-induced)
- Noise pattern (grain, JPEG blocking, chroma subsampling artifacts)
- Presence of text, faces, or fine textures (prioritizes facial symmetry and skin tone fidelity)
⚡ Stage 2: Adaptive Super-Resolution & Detail Reconstruction
Unlike generic upscalers, Pixelift’s 2026 model uses context-aware patch inference. It doesn’t just enlarge pixels—it predicts plausible high-frequency detail based on semantic understanding. For example:
- A blurry eye region gets reconstructed eyelashes and iris texture—not just smoothed gradients
- Text on a sign or shirt logo is re-synthesized legibly (not hallucinated)
- Grain in old film scans is reduced without flattening film grain character
🎨 Stage 3: Color & Lighting Refinement
Restoration isn’t just about sharpness. Pixelift applies perceptual color science calibrated to sRGB and Display P3 standards—correcting washed-out highlights, restoring natural skin tones, and balancing shadows without crushing detail. This stage is especially vital for photos pulled from Google Drive scans or printed originals.
Step-by-Step: Restore a Blurry Photo Using Pixelift (2026 Workflow)
This works whether your source is a Google Photos download, Google Drive file, or local gallery image:
✅ Step 1: Locate the Highest-Quality Source File
Don’t settle for the Google Images thumbnail. Go straight to the source:
- Google Photos → Download original (not “Medium size”)
- Google Drive → Right-click → “Download” (not preview)
- iOS/Android → Share → “Save to Files” or “Save Image”
✅ Tip: File size matters. A 4MB JPEG is almost always better than a 250KB one—even if both look similarly blurry on screen.
✅ Step 2: Upload to Pixelift (Web or iOS App)
Go to aienhancephoto.com or open the Pixelift iOS app. Drag-and-drop or select your file. No account required for basic restoration.
Pixelift supports:
- JPEG, PNG, HEIC, WEBP (up to 25MB)
- Batch processing (up to 10 photos at once)
- Face-aware sharpening toggle (on by default)
✅ Step 3: Choose Your Enhancement Mode
For a blurry photo, select one of these presets:
| Mode | Best For | Processing Time (2026 avg.) |
|---|---|---|
| Smart Sharpen | Mild motion or focus blur; preserves natural texture | 8–12 sec |
| Legacy Restore | Old scanned photos with dust, scratches, and soft focus | 14–18 sec |
| Ultra Detail | Low-res portraits or product shots needing 2–4× upscale + sharpen | 22–28 sec |
💡 Pro tip: Try “Legacy Restore” first—even for non-vintage photos. Its dual denoising + deblurring stack handles compression artifacts exceptionally well in 2026.
✅ Step 4: Preview & Download
Pixelsift renders a side-by-side comparison instantly. Zoom to 100% to inspect eyes, hair, text, or fabric texture. If needed, adjust intensity sliders (Sharpness, Denoise, Contrast)—but avoid maxing them all (over-sharpening creates halos).
Then click “Download HD” to save your restored version—retaining full EXIF data (including original timestamp) unless you opt out.
What *Won’t* Work (And Why)
Setting realistic expectations helps avoid frustration. Here’s what modern AI still can’t do in 2026:
❌ Upscaling a 100×75 Thumbnail to Poster Size
If the only version you have is a tiny Google Images thumbnail (under 300px wide), no AI can magically invent missing megapixels. You’ll get a cleaner, sharper 300px image—but not a usable 3000px print. Resolution ceiling = source resolution × ~3.5× reliably.
❌ Restoring Motion Blur From a Single Frame
Heavy motion blur (e.g., a fast-moving child captured at 1/30s) lacks enough spatial information for perfect reconstruction. Pixelift reduces blur significantly—but won’t turn a streak into crisp eyelashes. For best results, pair with burst-mode frames if available.
❌ Fixing Severely Corrupted or Partially Missing Files
If your downloaded file is truncated, password-protected, or served as a broken SVG placeholder from Google Images, AI can’t help. Always verify file integrity (file -i your_photo.jpg in Terminal or use online MIME checkers) before uploading.
Real User Results: Before & After (2026 Examples)
We tested Pixelift on common “Google Search-found” scenarios using real user-submitted files (with permission). Here’s what improved:
- Case 1: Blurry 2014 wedding guest photo (found via “Smith wedding 2014 site:facebook.com”). Original Google Images thumbnail: 240×160. Downloaded FB album photo: 1280×853 JPEG. After Pixelift Legacy Restore: facial features clear, dress lace visible, readable text on banner. ✅
- Case 2: Faded 1972 family portrait scan (uploaded to Google Drive in 2018). Source: 1600×1200 JPEG, heavy grain + soft focus. After Legacy Restore: grain suppressed, eyes brightened, background detail recovered. ✅
- Case 3: Screenshot of Google Images result (400×267). Uploaded directly to Pixelift. Result: cleaner edges, but no new detail beyond 400px. ❌ Not recommended—find original instead.
Frequently Asked Questions
Below are answers to common questions about restoring blurry photos sourced via Google Search—based on real user queries from 2026 support logs.
Can Google Photos auto-enhance blurry pictures?
Google Photos offers basic “Enhance” suggestions (brightness, contrast, auto-fix), but no true AI deblurring or super-resolution as of mid-2026. Its enhancements are global adjustments—not pixel-level reconstruction. For actual blur removal, you need dedicated AI tools like Pixelift.
Is there a Chrome extension to restore blurry images from Google Images?
No reputable extension can restore blur from Google Images thumbnails in 2026. Some claim to “enhance previews”, but they merely apply CSS filters or lightweight client-side sharpening—creating artificial edge contrast without recovering real detail. They often violate Google’s Terms of Service and risk account flags.
Does Pixelift work on photos from Google Lens searches?
Yes—if you save the Lens-captured image to your device first. Google Lens itself doesn’t store originals, but when you tap “Save” after a Lens search, it saves a local copy (usually full-res). Upload that file to Pixelift—not the Lens UI preview.
Final Thoughts: Stop Searching—Start Restoring
You can’t restore a blurry photo from Google Search—but you can almost always find a better version of it nearby. Whether it’s buried in Google Photos, tucked inside a Google Drive folder, or quietly living in your phone’s gallery, the raw material for stunning AI restoration is likely already in your possession.
In 2026, tools like Pixelift make restoration effortless: no skills, no subscriptions for basic use, and results you’ll want to share immediately. So next time you spot that fuzzy childhood photo in search results—don’t sigh. Open Google Photos, dig for the original, and give it 20 seconds with Pixelift. The difference? Remarkable.
Ready to restore your first photo? Try Pixelift free now—no signup, no watermarks, and results in under 30 seconds.
Next steps
Start on the AI Photo Enhancer homepage, try the main tool from the dashboard, or contact us if you need help choosing the right workflow. You can also explore localized pages like United Kingdom or Germany.