
Published by PixeLift · · 7 min read
How to Upscale Blurry Photos in 2026: The Complete AI Guide
Learn how to upscale blurry photos in 2026 using AI. Discover the best tools, simple workflows, and tips to restore crisp, high-resolution images instantly.
This article is part of our guide to fixing blurry photos.

Recommended next
What Does It Mean to Upscale Blurry Photos in 2026?
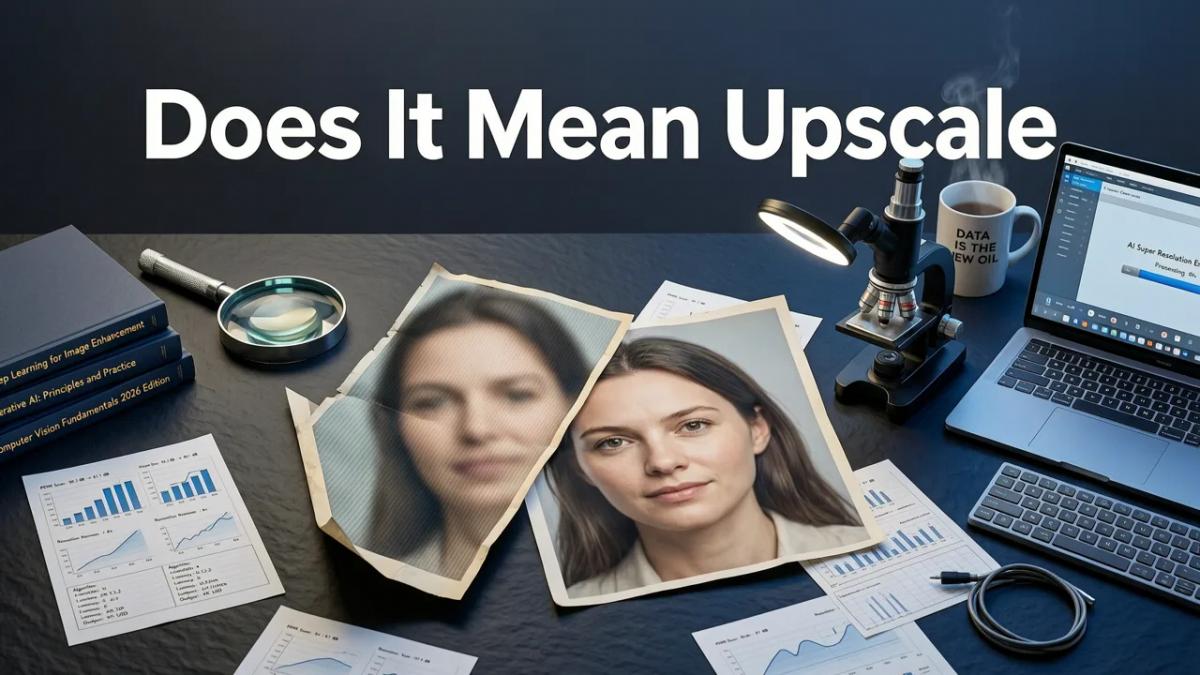
If you have ever tried to print a cherished memory, share a crisp product shot online, or simply view an old family portrait on a modern high-resolution screen, only to find the image is soft, pixelated, and frustratingly blurry, you are not alone. The good news? Learning how to upscale blurry photos in 2026 is easier than ever, thanks to advanced AI models that can reconstruct missing details in seconds.
Upscaling is the process of increasing the resolution of an image. In the past, this simply meant stretching the existing pixels, which resulted in a mushy, out-of-focus mess. Today, AI-driven upscaling is fundamentally different. Modern algorithms do not just stretch pixels; they analyze the surrounding context, recognize patterns, and intelligently generate brand-new pixels to fill in the gaps. The result is a sharp, high-fidelity image that looks like it was captured with a premium camera.
Whether you are trying to salvage a low-resolution screenshot, bring a vintage print into the digital age, or prepare a small product photo for a large marketing banner, AI photo enhancers have completely changed the workflow. You no longer need hours of manual editing experience or expensive software subscriptions to achieve professional results.
Why 2026 Is the Best Year Yet to Upscale Blurry Photos with AI
The landscape of image enhancement evolves rapidly, but 2026 marks a significant leap forward in both accessibility and quality. Here is why this is the perfect time to upgrade your photo restoration workflow.
1. Generative AI Models Trained on Real-World Degradation
Early AI upscalers often struggled with complex textures, turning faces into waxy paintings or making text look like alien symbols. The latest generation of AI models, however, has been trained on massive datasets of real-world image degradation. This means the AI understands exactly how a photo looks when it is blurred by camera shake, compressed by social media algorithms, or degraded by decades of physical aging. It can accurately predict and reconstruct fine details like individual hair strands, fabric textures, and crisp typography.
2. Hybrid Cloud and Local Processing for Instant Results
Speed is no longer a bottleneck. Modern photo enhancement platforms utilize a hybrid architecture that combines the heavy lifting of cloud-based neural networks with optimized local processing on your device. This allows you to upload a heavily compressed image and receive a fully upscaled, 4K-ready version in a matter of seconds, without sacrificing the natural look of the original photo.
How to Upscale Blurry Photos in 4 Simple Steps (2026 Workflow)
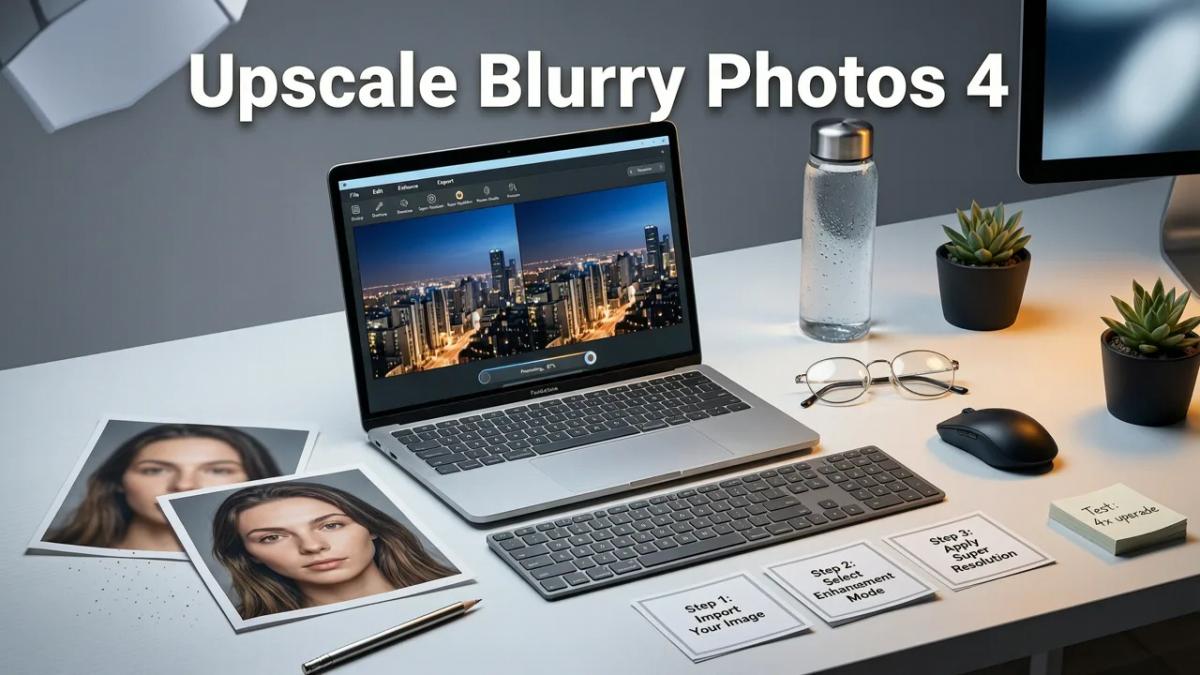
You do not need a degree in graphic design to fix blurry images. The modern workflow is designed for everyday users, creators, and small business owners who need fast, reliable results. Here is the standard step-by-step process to get crystal-clear images.
Step 1: Choose Your AI Photo Enhancer
The foundation of a great upscale is the tool you use. Not all upscalers are created equal, and choosing the right one depends on your specific needs. If you want to explore the top options available right now, check out our guide on the best AI tool to upscale low resolution photo in 2026. Look for platforms that offer specific modes for faces, general photography, and text, as this ensures the AI applies the right sharpening logic to your specific image type.
Step 2: Upload and Analyze
Once you have selected your tool, simply upload your blurry photo. Most web-based tools and iOS apps allow for drag-and-drop uploads or direct imports from your camera roll. The AI will take a brief moment to analyze the image, identifying areas that are out of focus, noisy, or lacking in detail.
Step 3: Apply Upscaling and Sharpening
Select your desired output resolution. Whether you need a 2x upscale for social media or a 4x upscale for large-format printing, the AI will process the image. During this step, the tool will simultaneously sharpen edges, reduce digital noise, and enhance color accuracy. If your image has distracting elements in the background, you can also use a magic remover feature to clean up the scene before or after upscaling.
Step 4: Download and Share
Review the enhanced image. Most platforms provide a side-by-side comparison slider so you can see the before-and-after difference. Once you are happy with the crisp, high-resolution result, download the file in your preferred format (JPEG or PNG) and share it anywhere.
Traditional Editing vs. AI Upscaling: A 2026 Comparison
To truly understand the value of AI enhancement, it helps to compare it with traditional image resizing methods. Here is a breakdown of how the old ways stack up against modern AI workflows.
| Feature | Traditional Interpolation (Bicubic/Nearest) | Modern AI Upscaling (Generative Models) |
|---|---|---|
| Core Mechanism | Mathematically stretches and averages existing pixels. | Predicts and generates brand-new pixels based on context. |
| Detail Recovery | None. Blurry areas remain blurry or become pixelated. | High. Reconstructs missing textures, edges, and fine details. |
| Noise Handling | Often amplifies existing digital noise and grain. | Actively reduces noise while sharpening true details. |
| Speed & Skill Required | Fast, but requires manual masking and sharpening skills. | Instant, fully automated, requires zero editing experience. |
| Best Use Case | Slight size adjustments for already high-quality images. | Rescuing low-res, blurry, or heavily compressed images. |
Pro Tips for Getting the Sharpest Results
While AI tools are incredibly powerful, a few best practices can help you get the absolute most out of your enhanced photos.
- Start with the Highest Quality Source: AI works miracles, but it is not magic. If you have multiple versions of a photo, always start with the least compressed, highest-resolution file available before running it through the enhancer.
- Combine with Background Removal: If you are upscaling a product photo or a portrait for a specific project, you can drastically improve the final composition. Learn how to remove background from photo using AI to isolate your subject, ensuring the upscaling algorithm focuses entirely on the main subject without getting confused by a messy background.
- Handle Vintage Photos with Care: Old physical photographs often have scratches, faded colors, and severe blur. Before upscaling, it is often best to use a dedicated restoration mode. If your vintage pictures are stored in the cloud, you can easily restore old photos from iCloud and run them through an AI enhancer to bring them back to life.
- Avoid Over-Sharpening: More is not always better. If your AI tool offers intensity sliders, keep the sharpening at a natural level. Over-sharpening can introduce harsh halos around edges and make skin textures look unnatural.
- Enhance for the Final Destination: Consider where the image will live. An image upscaled for a massive printed banner requires a different processing approach than an image optimized for a small Instagram profile picture. Use tools that allow you to enhance photo quality online with specific presets tailored to your end use.
Common Mistakes to Avoid When Upscaling
Even with the best technology, user error can lead to subpar results. Avoid these common pitfalls to ensure your photos look their best.
- Ignoring Aspect Ratio: Always ensure your original image is cropped correctly before upscaling. Stretching an image to fit a new aspect ratio before upscaling will distort the AI's ability to recognize facial features and natural patterns.
- Using the Wrong Preset: Applying a "landscape" or "architecture" enhancement preset to a close-up portrait can result in overly sharp, unnatural skin textures. Always match the AI preset to the primary subject of your photo.
- Skipping the Comparison Slider: It is easy to get excited by a massive resolution increase, but always use the before-and-after slider. If the AI has altered the fundamental identity of a person's face or changed the text in a sign, you may need to adjust the intensity or try a different tool.
Conclusion
Learning how to upscale blurry photos no longer requires hours of frustrating manual editing. With the AI advancements available in 2026, you can transform soft, pixelated, and low-resolution images into stunning, high-definition masterpieces in just a few clicks. Whether you are preserving family history, boosting your e-commerce product shots, or simply cleaning up your social media feed, AI photo enhancers put professional-grade results directly in your hands.
Ready to see the difference for yourself? Head over to Pixelift to try the AI photo enhancer today. With intuitive tools for upscaling, background removal, and creative restyling, you can bring all your blurry photos back to life effortlessly.
More on fixing blurry photos
The other articles on this topic are listed in the blurry photo guide.

2026-11-16
How to Unblur a Blurry Picture on iPhone Fast in 2026
Learn how to unblur a blurry picture on iPhone fast using AI. Discover the best methods to sharpen, restore, and enhance your photos in 2026.

2026-08-31
Sharpen Blurry Photo Online Free – Instant AI Fix (2026)
Sharpen blurry photo online free with Pixelift's AI in 2026. Fix low-res, old, and out-of-focus images in seconds — no signup, no editing skills needed.

2026-08-27
Sharpen Blurry Photo Free — Instant AI Fix in 2026
Sharpen blurry photo free with Pixelift's AI enhancer. Fix out-of-focus, pixelated, and low-res images in seconds — no editing skills required. Try it now.
Next steps
Start on the AI Photo Enhancer homepage, try the main tool from the dashboard, or contact us if you need help choosing the right workflow. You can also explore localized pages like United Kingdom or Germany.