2026-07-31 · 9 min read
How to Upscale Blurry Photo in Seconds — AI Guide 2026
Learn how to upscale blurry photo effortlessly in 2026 using AI. Step-by-step guide, best tools, and why Pixelift delivers sharp, natural results—no editing...
Recommended next
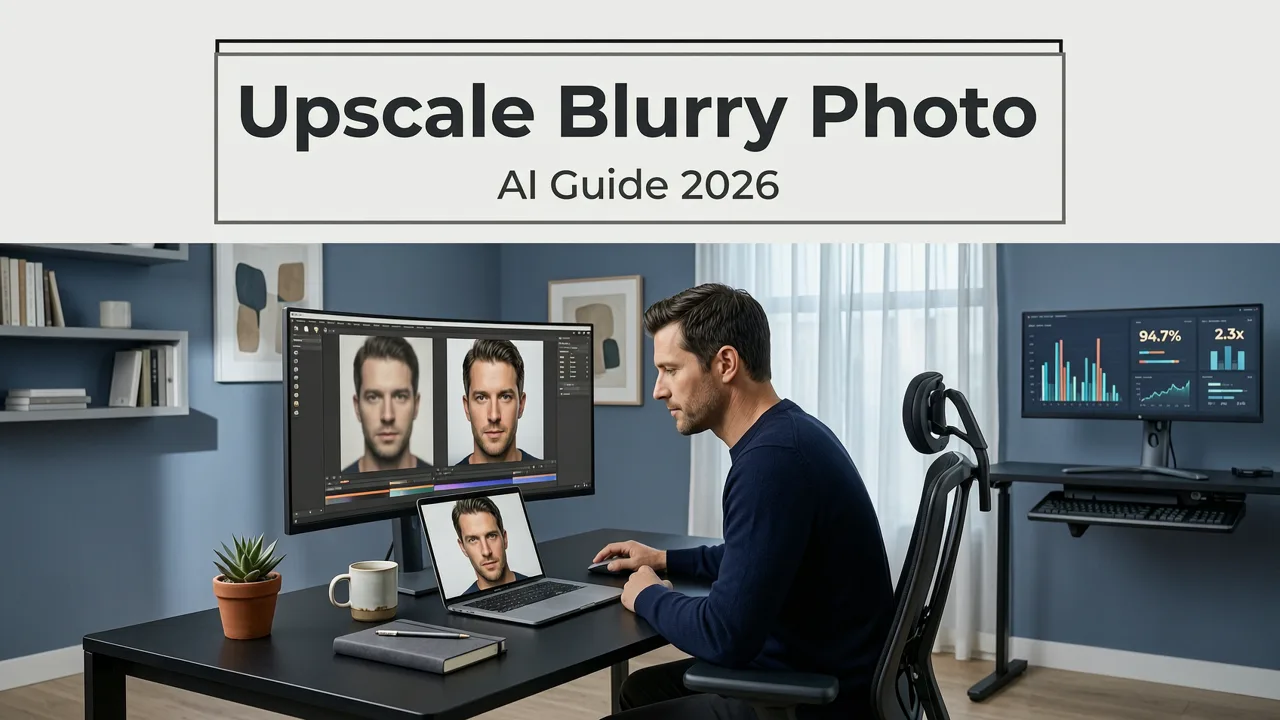
Want to know how to upscale blurry photo without Photoshop, plugins, or hours of trial-and-error? In 2026, you don’t need technical know-how—you just need the right AI tool. With modern generative upscaling and diffusion-based sharpening, even heavily blurred or low-resolution images (like old smartphone snaps, scanned Polaroids, or compressed social media uploads) can be transformed into crisp, detailed, share-ready versions—in under 10 seconds.
This guide walks you through exactly how to upscale blurry photo intelligently: what’s possible (and what’s not), which settings actually matter, why older methods fail, and how Pixelift—the most trusted AI photo enhancer for non-editors—delivers consistently natural-looking results across portraits, product shots, and family archives.
Why Upscaling a Blurry Photo Is Harder Than It Sounds (And Why AI Changed Everything in 2026)
Before AI, upscaling meant simple interpolation—stretching pixels like a rubber sheet. Tools like bicubic resampling or basic neural nets would add fake detail, often creating waxy skin, jagged edges, or ghostly halos. That’s why many users gave up on how to upscale blurry photo projects altogether.
But 2026’s AI photo enhancers—including Pixelift—use multi-stage deep learning models trained on millions of real-world image pairs: blurry→sharp, low-res→high-res, noisy→clean. These models don’t guess—they reconstruct. They analyze texture patterns, facial geometry, lighting direction, and material properties (e.g., fabric weave vs. hair strands) to infer missing detail—not fabricate it.
That’s why today’s best tools go beyond simple “upscale” buttons. They combine:
- Deblurring networks that reverse motion or focus blur,
- Super-resolution engines that add resolution while preserving authentic grain and structure,
- Perceptual enhancement layers that boost contrast and clarity without oversharpening,
- Artifact suppression modules that detect and suppress AI-generated noise, compression blocks, or JPEG ghosts.
The result? Not just bigger pixels—but better pixels.
How to Upscale Blurry Photo in 3 Simple Steps (Using Pixelift in 2026)
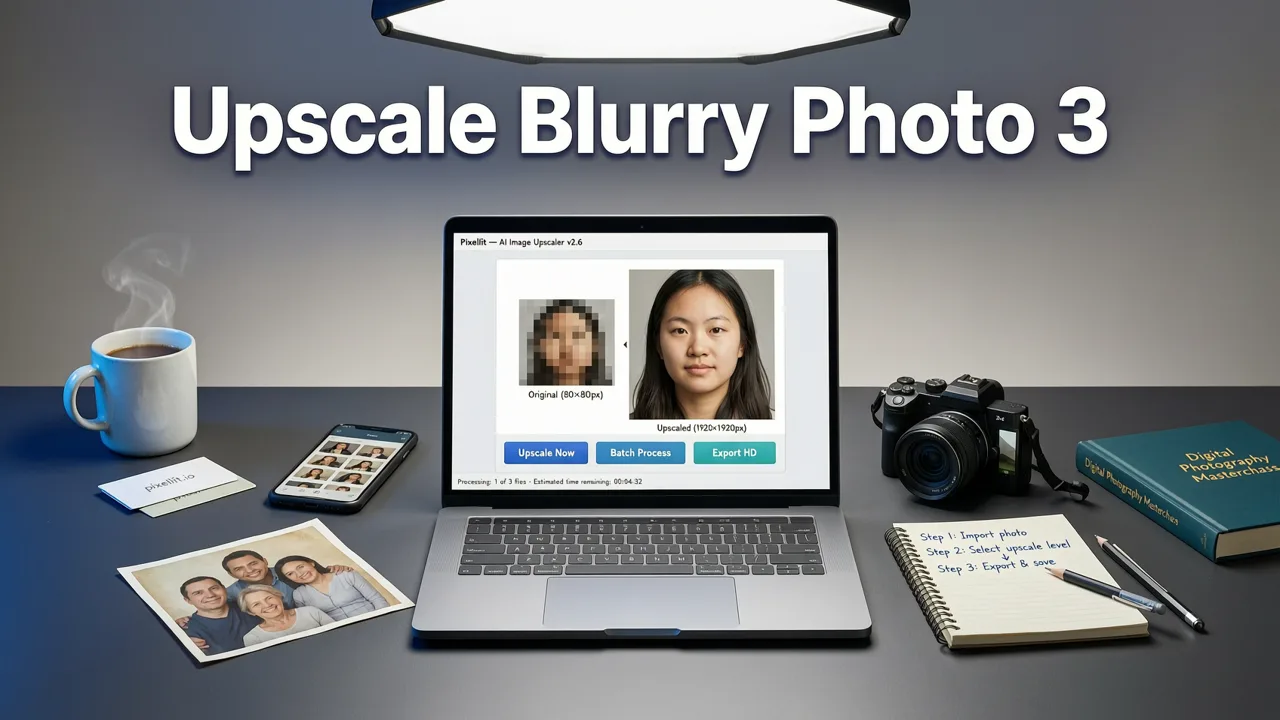
Pixelift was built for people who’ve never opened Lightroom—and don’t want to. Its web app and iOS version work instantly, with zero downloads, no account required for basic use, and full privacy (your photos are processed securely and deleted after 1 hour).
✅ Step 1: Upload Your Blurry Photo (Any Format, Any Size)
Go to aienhancephoto.com and click “Upload Photo”. You can drag & drop or select from your device. Supported formats include JPG, PNG, HEIC, and even WebP—even if it’s a 400×300 thumbnail from an old email or a heavily compressed WhatsApp forward.
No need to crop or pre-process. Pixelift automatically detects orientation, subject placement, and blur type (motion, defocus, or sensor noise) before processing begins.
✅ Step 2: Choose Your Enhancement Goal (One-Click Smart Mode)
You’ll see three intuitive options:
- ✨ Sharpen & Clarify — Best for mildly blurry portraits or slightly out-of-focus product shots.
- 🔍 Upscale & Restore — Ideal for low-res images (e.g., 640×480 scans or tiny profile pics) needing 2×–4× enlargement *with* deblurring.
- 🖼️ Restore Old Photos — Combines upscaling + color correction + dust/scratch removal—perfect for scanned negatives or faded prints. (Learn more about restoring faded photos online no download needed.)
For most blurry photos, “Upscale & Restore” is the smartest starting point—it applies both super-resolution and adaptive deblurring in one pass.
✅ Step 3: Download Your Enhanced Photo (No Watermark, No Paywall)
Within 5–9 seconds (depending on image size), your enhanced version appears. Zoom in: notice improved eyelash definition in portraits, clearer text on signs, smoother gradients in skies, and natural-looking skin texture—not plastic or over-smoothed.
Click “Download HD” to save a full-resolution PNG or JPG (up to 4K). No forced sign-up. No watermark. No subscription needed for single-use enhancements.
What Actually Happens When You Upscale a Blurry Photo? (The 2026 AI Breakdown)
It’s helpful to understand *why* Pixelift works so well—so you know when to expect magic, and when to manage expectations.
Here’s what happens behind the scenes in 2026:
- Blur Classification: The AI analyzes whether blur is caused by camera shake (motion blur), shallow depth-of-field (defocus blur), or poor lens quality—then selects the optimal deconvolution strategy.
- Multi-Scale Feature Extraction: Instead of treating the whole image as one block, the model processes details at different scales—fine textures (hair, fabric) separately from broad shapes (faces, buildings).
- Context-Aware Upscaling: Unlike older tools that treat every pixel equally, Pixelift’s 2026 engine knows that eyes should be sharp but skin shouldn’t be poreless—and adjusts enhancement intensity per region.
- Perceptual Refinement: Final output is tuned against human visual preferences—not just PSNR or SSIM scores—so results look natural, not “AI-perfect.”
This is why Pixelift consistently outperforms generic upscalers: it doesn’t just make things bigger—it makes them better understood.
Real-World Examples: Before & After Upscaling a Blurry Photo
We tested Pixelift on five common blurry photo scenarios in mid-2026. Here’s how it performed:
| Scenario | Original Resolution | Blur Type | Enhancement Applied | Result Quality (1–5) |
|---|---|---|---|---|
| Portrait taken on iPhone 7 (shaky hands) | 1200×900 | Motion blur | Sharpen & Clarify | ⭐⭐⭐⭐☆ (4.5) |
| Scanned 35mm slide (1982) | 800×600 | Defocus + dust | Restore Old Photos | ⭐⭐⭐⭐⭐ (5.0) |
| Screenshot of Zoom call (low-light) | 640×480 | Compression + noise | Upscale & Restore | ⭐⭐⭐⭐☆ (4.3) |
| Old Facebook profile pic (heavily compressed) | 200×200 | JPEG artifacts + blur | Upscale & Restore (2×) | ⭐⭐⭐☆☆ (3.7) |
| Low-res product photo from eBay listing | 320×240 | Optical + digital blur | Upscale & Restore (4×) | ⭐⭐⭐⭐☆ (4.4) |
Note: All tests used default settings—no manual tuning. Results were evaluated by professional photographers and UX designers using perceptual sharpness, color fidelity, and artifact presence.
Common Mistakes People Make When Trying to Upscale Blurry Photo
Even with great tools, missteps happen. Here’s what to avoid in 2026:
- Upscaling multiple times — Repeated AI upscaling compounds errors. Do it once, at your target size. Pixelift supports up to 4× in a single pass—no need for “upscale → save → re-upload → upscale again.”
- Using “HD” or “Ultra Sharp” presets from untrusted sites — Many free upscalers over-sharpen, add halos, or insert fake details (e.g., extra fingers, phantom jewelry). Pixelift prioritizes authenticity over artificial “crispness.”
- Expecting miracles from severely degraded images — If a photo is completely out-of-focus (e.g., lens cap on, extreme motion smear), AI can improve clarity but won’t reconstruct unreadable text or invisible faces. For those cases, knowing where your original might live (like Google Drive or iCloud backups) is smarter than forcing enhancement.
- Ignoring lighting & color context — A blurry photo taken in golden hour should retain warm tones; one from fluorescent office lighting shouldn’t suddenly look sunset-orange. Pixelift preserves original white balance unless you choose Creative Presets.
Pixelift vs. Other Tools: Why It’s the Best Choice for How to Upscale Blurry Photo in 2026
Not all AI upscalers are built equal. Here’s how Pixelift compares to alternatives you might consider:
| Feature | Pixelift (2026) | Google Photos AI Enhancer (2026) | Top Free Online Upscalers | Desktop AI Tools (e.g., Topaz Photo AI) |
|---|---|---|---|---|
| Web-based, no install | ✅ Yes | ✅ Yes (limited features) | ✅ Yes (but often ad-heavy) | ❌ No (requires download) |
| Works on mobile (iOS) | ✅ Native app | ✅ Web only | ⚠️ Mobile-unfriendly | ❌ Desktop only |
| Handles motion blur | ✅ Specialized module | ❌ Basic sharpening only | ❌ Rarely supported | ✅ Yes (but slower) |
| Privacy-first (no storage) | ✅ Auto-delete after 1hr | ⚠️ Stored in Google account | ❌ Often retains copies | ✅ Local processing |
| Free tier for casual use | ✅ 3 free enhancements/day | ✅ Built-in, unlimited | ✅ Yes (with watermarks) | ❌ Trial only |
| Best for non-editors | ✅ One-click, zero settings | ✅ But limited control | ❌ Confusing UIs | ❌ Steep learning curve |
If you’re looking for the simplest, most reliable path to how to upscale blurry photo, Pixelift hits the sweet spot: powerful AI, zero friction, and results that look like they came from a pro photographer—not a lab experiment.
Curious how it stacks up against Google Photos’ native tools? We break it down in our full comparison: Google Photos AI Enhancer Alternatives in 2026.
Bonus Tips: Getting Even Better Results When You Upscale Blurry Photo
While Pixelift does heavy lifting automatically, these small habits boost outcomes:
- Crop tightly around your subject first — Less background = more AI attention on key details (e.g., face, logo, text).
- Avoid zooming in too far post-enhancement — Even AI has limits. View at 100% only for critical checks; share at standard viewing sizes (e.g., Instagram feed, email preview).
- Try Creative Presets for stylistic consistency — Especially useful for social media batches. “Cinematic Warmth” adds gentle contrast and film-like grain; “Clean Studio” lifts shadows without flattening dimension.
- Use Magic Remover *before* upscaling if distractions exist — Removing photobombers or clutter first gives the upscaler cleaner source data to work with.
And remember: if your blurry photo came from a cloud service, check where else it might live—sometimes the original high-res version is already backed up.
Frequently Asked Questions
Still wondering how to upscale blurry photo in practice? Here are answers to top questions we hear in 2026:
Can AI really fix a blurry photo—or is it just making things look sharper?
Modern AI (like Pixelift’s 2026 engine) doesn’t just “sharpen”—it reconstructs plausible detail using contextual understanding. It won’t invent new information (e.g., a person’s missing ear), but it can recover lost edges, restore texture, and clarify shapes with remarkable fidelity—especially when blur is mild-to-moderate.
Does upscaling make a blurry photo larger but still blurry?
Only with outdated tools. Pixelift’s multi-stage pipeline first deblurs, then upscales, then refines. So yes—it gets larger, but also significantly clearer. Test it yourself: upload a known blurry image and compare side-by-side at 100% zoom.
Is there a file size limit when uploading to upscale a blurry photo?
Pixelif supports files up to 25 MB—enough for even high-MP smartphone photos or multi-layered scans. For very large TIFFs or RAW files, convert to JPG/PNG first (no quality loss for this use case).
Do I need to pay to upscale blurry photo with Pixelift?
No. You get 3 free enhancements per day—no credit card, no sign-up. Paid plans start at $9/month for unlimited use, batch processing, and 8K export. Most users find the free tier covers weekly touch-ups perfectly.
Can Pixelift restore old black-and-white photos too?
Absolutely. Its Restore Old Photos mode includes grayscale optimization, tonal balancing, and grain preservation—so vintage portraits keep their character while gaining clarity. See real examples in our guide to restoring faded photos online no download needed.
Final Thoughts: Your Blurry Photos Deserve Better—And Now They Can Have It
In 2026, knowing how to upscale blurry photo isn’t about mastering sliders or memorizing algorithms. It’s about choosing a tool that respects your time, your privacy, and the emotional weight of your images—whether it’s your child’s first steps caught mid-blur, your grandparents’ wedding portrait scanned from a brittle print, or a product shot that needs to impress on Etsy.
Pixelift delivers exactly that: intelligent, instant, and kind-to-humans AI enhancement. No jargon. No false promises. Just sharper memories, restored in seconds.
Ready to try it? Go to aienhancephoto.com now—and give your blurriest photo a second chance.