2026-10-07 · 7 min read
How to Upscale Low Resolution Images for Print (2026 Guide)
Learn how to upscale low resolution images for print without losing quality. Discover the best AI methods to get crisp, high-DPI results for physical media.
Recommended next
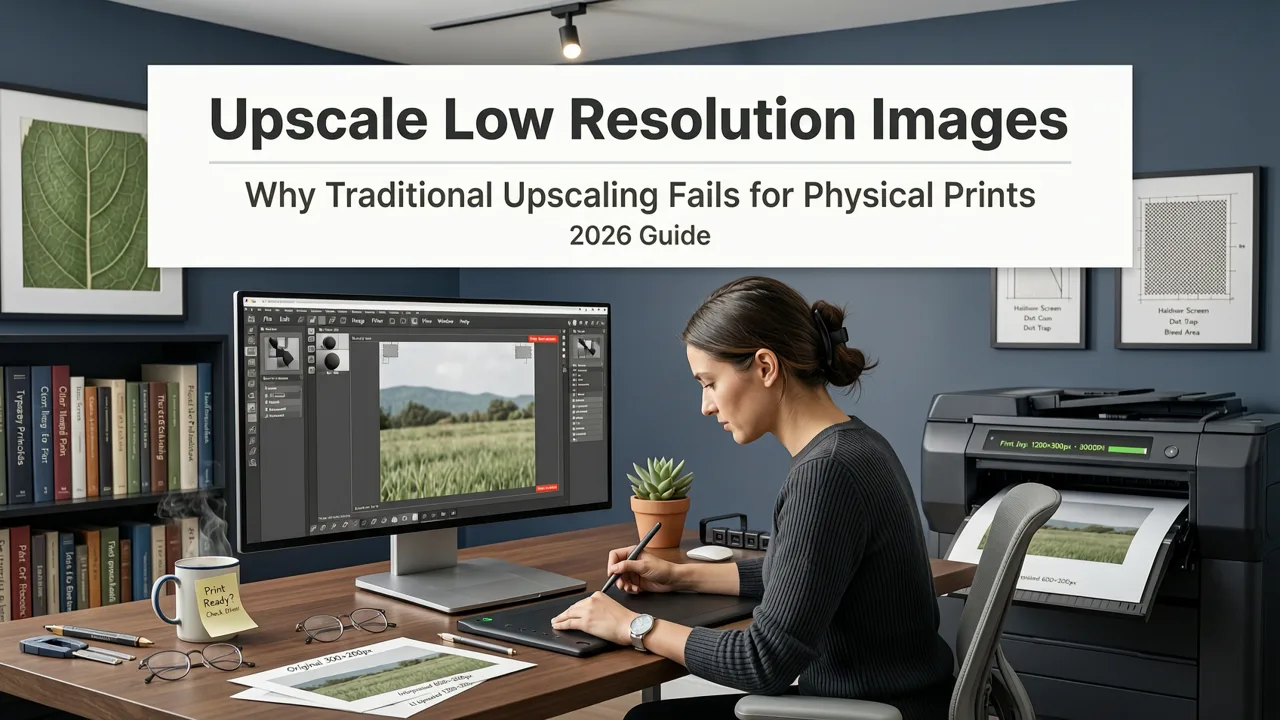
Why Traditional Upscaling Fails for Physical Prints
You found the perfect photo to frame, enlarge, or put in a physical album, but when you zoom in, it is a pixelated mess. If you are wondering how to upscale low resolution images for print without turning them into a blurry, blocky disaster, the secret lies in AI-driven pixel generation rather than traditional stretching.
To get crisp, gallery-quality physical prints, you must use artificial intelligence to reconstruct missing details and aim for a minimum of 300 DPI at your target print size. Simply dragging the corners of an image in a basic photo viewer will only stretch the existing pixels, resulting in a soft, unusable print.
The Problem with Standard Interpolation
Older software uses methods like bicubic or bilinear interpolation. These algorithms look at the existing pixels and simply average the colors to create new ones. While this works fine for making an image slightly larger on a screen, it completely falls apart when you need the sharp micro-contrast required for physical ink or toner.
Print media is unforgiving. A screen can hide softness with backlighting, but paper exposes every flaw. This is why AI upscaling has become the absolute standard for anyone preparing digital files for physical media.
How to Upscale Low Resolution Images for Print: Step-by-Step
Getting a small digital file ready for a large physical print requires a specific workflow. You cannot just hit one button and expect a masterpiece. Here is the exact process to ensure your final print looks sharp, vibrant, and professional.
Step 1: Calculate Your Required Pixel Dimensions
Before you upscale anything, you need to know your destination. Print resolution is measured in DPI (dots per inch). For high-quality photo prints, the industry standard is 300 DPI.
To find out how many pixels you need, multiply your desired print width and height by 300. For example, if you want to print an 8x10 inch photo, you need an image that is at least 2,400 by 3,000 pixels. If your starting image is only 1,000 by 1,200 pixels, you need to upscale it by a factor of 2.4x to 3x.
Step 2: Use AI to Generate Real Pixels
Once you know your target size, it is time to use an AI photo enhancer. Unlike traditional tools, modern AI upscalers analyze the context of the image. If it detects a blurry edge of a leaf, it uses its training data to generate a sharp, realistic leaf edge rather than just smudging the colors together.
When choosing a tool, look for one that allows you to specify the exact output resolution or offers targeted enhancement modes for faces, landscapes, or text. This ensures the AI applies the right type of detail reconstruction for your specific subject.
Step 3: Clean Up Distractions Before Enlarging
When you enlarge an image, every tiny flaw gets enlarged with it. A small smudge, a stray hair, or a distracting background object that was barely noticeable on your phone screen will become glaringly obvious on an 11x14 print.
Before or immediately after upscaling, take a moment to clean up the image. If you are dealing with an old scanned photo, you might be searching for what is Magic Remover gel for photos to fix scratches and dust spots. The good news is that you do not need physical chemicals or complex manual cloning tools; AI-powered object removers can instantly analyze the surrounding pixels and seamlessly fill in the gaps, leaving you with a pristine canvas ready for the printer.
Step 4: Fine-Tune Sharpening and Noise Reduction
AI upscaling does an incredible job of adding detail, but it can sometimes introduce a slight digital noise or over-sharpen certain areas. Apply a gentle, global noise reduction to smooth out skin tones and solid color backgrounds. Then, apply a very light output sharpening. Remember, the printer itself will add a layer of sharpness when the ink hits the paper, so you want your digital file to look just a tiny bit soft, not aggressively crunchy.
The Math Behind Print Resolution (A Quick Cheat Sheet)
Understanding the relationship between digital pixels and physical inches takes the guesswork out of printing. The table below shows the exact pixel dimensions required to achieve a crisp 300 DPI print at common frame and poster sizes.
| Target Print Size (Inches) | Required Pixels at 300 DPI | Minimum Starting Pixels (for 3x AI Upscale) |
|---|---|---|
| 4 x 6 | 1200 x 1800 | 400 x 600 |
| 5 x 7 | 1500 x 2100 | 500 x 700 |
| 8 x 10 | 2400 x 3000 | 800 x 1000 |
| 11 x 14 | 3300 x 4200 | 1100 x 1400 |
| 16 x 20 | 4800 x 6000 | 1600 x 2000 |
| 24 x 36 (Poster) | 7200 x 10800 | 2400 x 3600 |
As you can see, even a relatively small image from a modern smartphone can be upscaled into a massive poster, provided you use the right AI enhancement workflow.
Common Mistakes When Preparing Digital Photos for Physical Prints
Even with the best AI tools, a few missteps can ruin your final print. Avoid these common pitfalls to ensure your hard work pays off.
- Stretching Instead of Upscaling: Never just change the image dimensions in a basic editor without using an AI upscaler. Stretching adds empty pixels that result in a blurry, undefined print.
- Ignoring Aspect Ratio: If your image is 4:3 but you want to print it on 5x7 paper (which is roughly 5:7), you must crop the image to match the paper ratio before upscaling. Otherwise, the printer will crop it for you, potentially cutting off important parts of the photo.
- Using Social Media Downloads: Images downloaded from Instagram, Facebook, or WhatsApp are heavily compressed. They lack the data density required for upscaling. Always start with the original, highest-resolution file possible.
- Over-Sharpening: It is tempting to crank up the sharpness slider to make the image pop. On a screen, this looks great. On paper, it creates ugly white halos around edges and makes skin tones look gritty.
Color Profiles: RGB vs. CMYK for Printing
When you prepare your upscaled image, you will eventually need to think about color spaces. Screens display colors using RGB (Red, Green, Blue), which is an additive light model. Printers use CMYK (Cyan, Magenta, Yellow, Black), which is a subtractive ink model.
CMYK cannot reproduce the ultra-bright neon greens and deep vibrant blues that RGB can. If you print an RGB image directly, the printer's software will automatically convert it, often resulting in dull or muddy colors.
For the best results, upscale your image in its native RGB format. Once the upscaling and detail enhancement are complete, convert the file to CMYK using professional editing software or your printer's specific color profile. This allows you to manually adjust the colors to compensate for the gamut shift, ensuring your final physical print matches the vibrancy of your screen as closely as physically possible.
Choosing the Right Paper and Finish
The magic of upscaling is only half the battle; the paper you choose dictates how those new pixels are perceived.
Glossy paper is excellent for high-detail, vibrant photos because it reflects light directly, making the AI-generated details pop. However, it can show fingerprints and glare under bright room lighting.
Matte paper absorbs light, which softens the image slightly. This is incredibly forgiving for portraits and older photos, as it hides minor noise and gives a classic, artistic feel. If you upscaled an image and feel it looks just a tiny bit too digital or sharp, printing it on a high-quality matte or luster paper will beautifully soften the result.
Final Thoughts on Upscaling for Print
Learning how to upscale low resolution images for print no longer requires a degree in graphic design or hours of manual pixel painting. By combining the right mathematical targets with modern AI enhancement, you can take tiny, forgotten digital files and turn them into stunning physical keepsakes.
Whether you are bringing a small smartphone snapshot to life on a large canvas or restoring a low-resolution scan of a cherished family memory, the right tools make the process effortless. Ready to bring your digital photos into the physical world? Explore the Pixelift web tool or download the iOS app to start upscaling, enhancing, and restoring your images in seconds.