2026-09-04 · 9 min read
How to Upscale Old Photo Without Losing Quality (2026 Guide)
Learn how to upscale old photo without losing quality in 2026. Discover AI-powered steps, tools, and tips to restore and enlarge vintage pictures sharply.
Recommended next
How to Upscale Old Photo Without Losing Quality (2026 Guide)
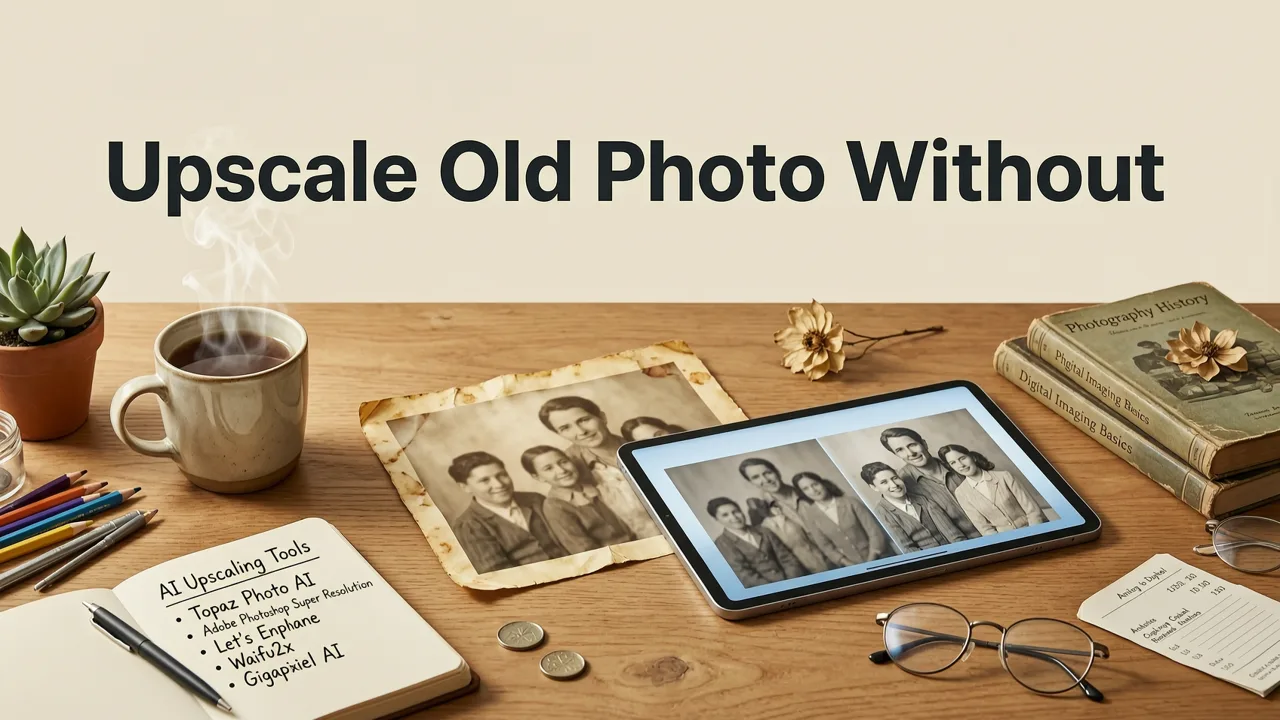
If you've ever tried enlarging a cherished family snapshot only to watch it turn into a pixelated mess, you know how frustrating it can be. The good news is that in 2026, you can upscale old photo without losing quality using AI-powered tools that reconstruct missing detail instead of simply stretching pixels. This guide walks you through exactly how the process works, which tools deliver the sharpest results, and how to get print-ready enlargements from scans that are barely larger than a postage stamp.
Whether you're working with a faded Polaroid, a low-resolution scan from the early 2000s, or a tiny wallet-size portrait of your grandparents, the steps below will help you produce a clean, detailed enlargement — no Photoshop skills required.
Why Old Photos Lose Quality When You Upscale Them the Old Way
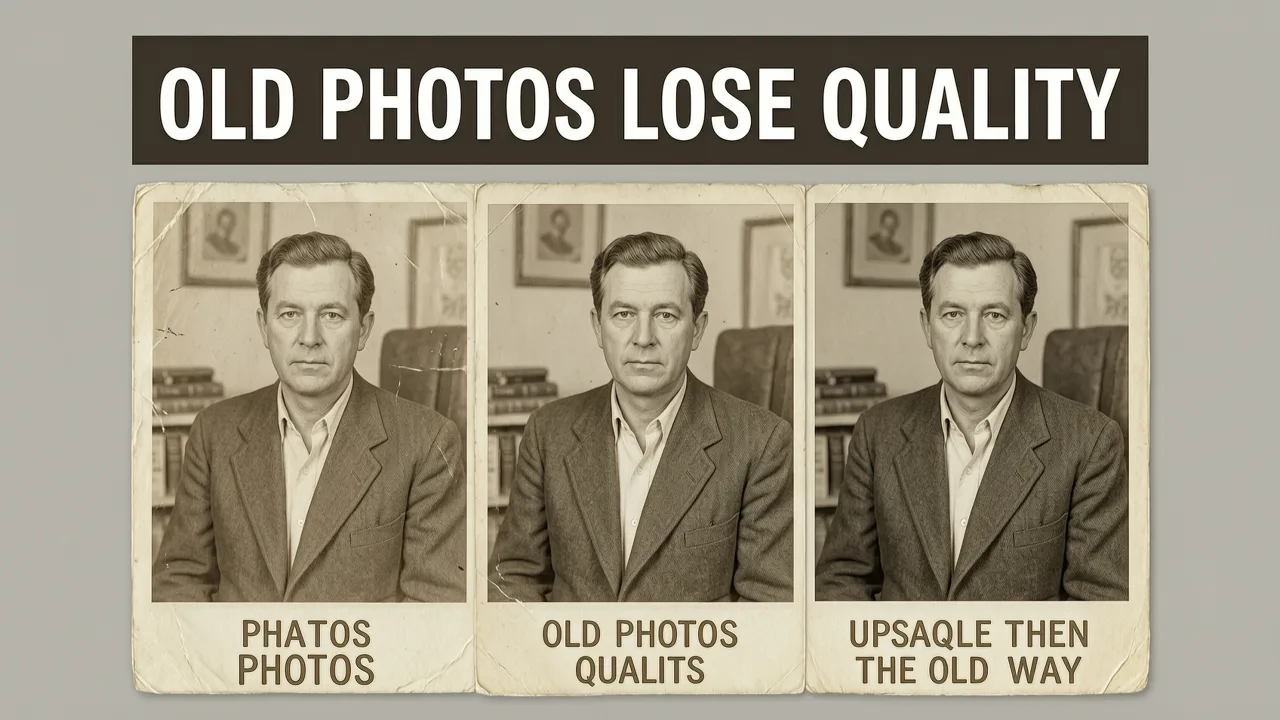
Traditional upscaling methods — like bicubic interpolation in Photoshop or the basic zoom function in most image viewers — simply guess new pixel values by averaging surrounding ones. The result is a softer, blurrier image that looks especially bad when you print it at poster size.
Old photographs present extra challenges:
- Film grain and scanning noise get amplified along with the image, making textures look gritty.
- Faded colors and low contrast become more obvious as the image grows.
- Scratches, dust spots, and creases that were barely visible at thumbnail size become impossible to ignore.
- Face detail is minimal in vintage snapshots taken with early digital cameras or disposable film cameras, so enlarging them exposes every missing pixel.
That's why a simple resolution boost never looks convincing on its own. You need a tool that understands what the image should look like and fills in the gaps intelligently.
How AI Upscaling Works Differently in 2026
Modern AI upscalers use deep-learning models trained on millions of high-resolution images. Instead of averaging neighboring pixels, the AI analyzes the low-resolution input and predicts what high-resolution detail would realistically belong there — adding crisp edges to text, reconstructing skin texture in portraits, and sharpening fabric patterns in clothing.
Here's a simplified breakdown of what happens behind the scenes:
- Noise and artifact removal — the model cleans up grain, JPEG compression blocks, and scan lines first.
- Feature detection — edges, faces, text, and repeating patterns are identified and separated into layers.
- Detail synthesis — new pixels are generated to match the detected features at the target resolution.
- Color and tone correction — faded hues are restored and contrast is balanced for a natural look.
The result is an image that looks like it was captured at a higher resolution to begin with, rather than a stretched version of the original.
Step-by-Step: How to Upscale Old Photo Without Losing Quality
Step 1 — Start With the Best Scan Possible
Even the smartest AI can't invent detail that was never captured. Scan the original print at 600 DPI or higher if your scanner allows it. A higher-resolution scan gives the AI more data to work with and produces a noticeably sharper upscale. If you don't own a scanner, use a scanning app on your phone with good, even lighting — avoid harsh shadows and glare.
Step 2 — Clean Up Damage Before Upscaling
Large scratches, tears, or missing corners should be repaired first. Pixelift includes a Magic Remover tool that lets you paint over blemishes and distractions, and the AI fills the area seamlessly. Tackling major damage before upscaling prevents the AI from sharpening scratches right along with the rest of the image.
Step 3 — Choose the Right Upscale Factor
Most AI upscalers let you choose 2×, 4×, or even 8× enlargement. For old photos, 2× or 4× usually delivers the best balance between size and realism. Pushing to 8× on a very small original can introduce AI hallucinations — details that look plausible but don't match reality. Start with 4× and inspect the result before going higher.
Step 4 — Apply Face-Aware Enhancement for Portraits
If the photo includes people, enable face-aware restoration. This mode uses a specialized model trained on facial features so that eyes, lips, and skin texture look natural rather than waxy or over-smoothed. Pixelift's face-aware pipeline is built exactly for this — you can read more about how it compares to other options in the best AI photo restorer for family pictures in 2026 guide.
Step 5 — Fine-Tune Color and Sharpness
After upscaling, use the built-in adjustment sliders to tweak brightness, contrast, and saturation. Old photos often benefit from a slight warmth boost and a gentle sharpen pass. Pixelift's Creative Presets offer one-click looks designed for vintage and portrait styles, so you don't have to guess at the right settings.
Step 6 — Export at the Right Resolution for Your Use Case
Save the final image as a PNG for archival quality or a high-quality JPEG for sharing and printing. If you plan to print, check the pixel dimensions against your desired print size — a 300 DPI print needs roughly 300 pixels per inch of output. A 4× upscale of a 2×3 inch scan at 600 DPI gives you an image large enough for an 8×12 inch print at full quality.
Pixelift vs. Other Approaches: What Actually Works in 2026
Not every upscaling method delivers the same results. Here's how the main options compare when your goal is to upscale old photo without losing quality:
| Method | Quality at 4× | Face Detail | Ease of Use | Best For |
|---|---|---|---|---|
| Pixelift AI Upscaler | Excellent — natural texture | Face-aware model | One-click web or iOS | Portraits, family photos, prints |
| Photoshop Super Resolution | Good — can look soft | Manual retouching needed | Steep learning curve | Users already skilled in Photoshop |
| Free online upscalers | Varies — often over-sharpened | Generic models | Easy but limited control | Quick social media previews |
| Traditional interpolation | Poor — blurry and soft | No reconstruction | Built into most editors | When no AI tool is available |
For most people restoring old family photos, an AI-first tool like Pixelift removes the guesswork entirely. You upload, choose your settings, and get a print-ready result in seconds. If you want a deeper comparison of upscalers available this year, the best AI photo upscaler 2026 breakdown covers real-world performance tests and which models handle different photo types best.
Tips to Get the Sharpest Results When Upscaling Vintage Photos
Work in Batches When You Have Multiple Scans
If you're digitizing an entire album, scan everything at the same DPI and color profile first. Consistent input means consistent output, and you can apply the same upscale and preset settings across the batch for a uniform look.
Don't Skip the De-Noise Step
Film grain is charming at small sizes but becomes distracting when you enlarge. Pixelift's pipeline handles noise reduction automatically, but if you're using a separate workflow, apply de-noising before upscaling — never after.
Preserve the Original Scan
Always keep an untouched copy of your highest-resolution scan. AI upscaling is non-destructive in the sense that your original file stays intact, but it's good practice to archive the raw scan so you can re-process it later as models improve.
Use the Right File Format for Printing
For print shops, export as a PNG or TIFF to avoid JPEG compression artifacts at large sizes. If the print shop accepts JPEG, set quality to maximum. This small step ensures all the detail the AI reconstructed actually makes it to paper.
Common Mistakes That Ruin Quality When Upscaling Old Photos
- Upscaling a low-res web image instead of a scan. A photo downloaded from social media has already been compressed and resized. Always start from the original print or the highest-quality file you have.
- Choosing 8× on a tiny original. More isn't always better. An aggressive upscale on a very small source can produce uncanny, AI-generated details that don't match the real person or scene.
- Ignoring color fade before upscaling. If the colors are washed out, fix them first. Upscaling a faded image just makes a bigger faded image. Tools like the faded photo restoration guide can help you bring color back before you enlarge.
- Skipping face restoration on portraits. A generic upscale model may smooth faces into an unnatural blur. Always use a face-aware mode for photos of people.
When AI Upscaling Shines — and When to Manage Expectations
AI upscaling in 2026 is remarkably good, but it isn't magic. Here's what you can realistically expect:
Best results: Clear, well-lit originals with minor blur, moderate grain, or low resolution. Faces, text, and patterns come out impressively sharp.
Good results: Slightly faded or scratched photos with recognizable subjects. The AI fills in missing texture convincingly, though close inspection may reveal minor artifacts.
Limited results: Severely damaged, extremely blurry, or nearly featureless originals. The AI can improve these, but the output will still look reconstructed rather than photographic.
Setting realistic expectations helps you decide when an upscale is worth doing and when a gentle restoration with creative presets might produce a more emotionally satisfying result.
How to Upscale Old Photo Without Losing Quality on Mobile
If you don't have a computer handy, Pixelift is also available as an iOS app. The mobile workflow is identical in quality to the web version — upload a photo from your camera roll, select your upscale factor, enable face-aware mode if needed, and save the result directly to your device. This is especially handy when you're at a family gathering and someone pulls out a physical print they want enlarged on the spot.
One tip for mobile users: if you're photographing a physical print with your phone instead of scanning it, use even, diffused lighting and hold the camera perfectly parallel to the photo. Perspective distortion is much harder to fix than simple blur.
Final Thoughts: Upscaling Old Photos Has Never Been Easier
The days of choosing between a tiny, crisp image and a large, blurry one are over. With modern AI upscaling, you can upscale old photo without losing quality and produce enlargements that honor the original moment — sharper faces, richer colors, and print-ready resolution in just a few clicks.
Start with a solid scan, clean up major damage first, choose a sensible upscale factor, and let a purpose-built tool like Pixelift handle the heavy lifting. Your family's visual history deserves to be seen in full detail — and now it can be.