2026-08-24 · 8 min read
Upscale Low Resolution Image Without Quality Loss (2026 Guide)
Learn how to upscale low resolution image files in 2026 using AI. Sharpen blurry photos, restore old pictures, and boost clarity without editing skills.
Recommended next
What Does It Mean to Upscale a Low Resolution Image in 2026?
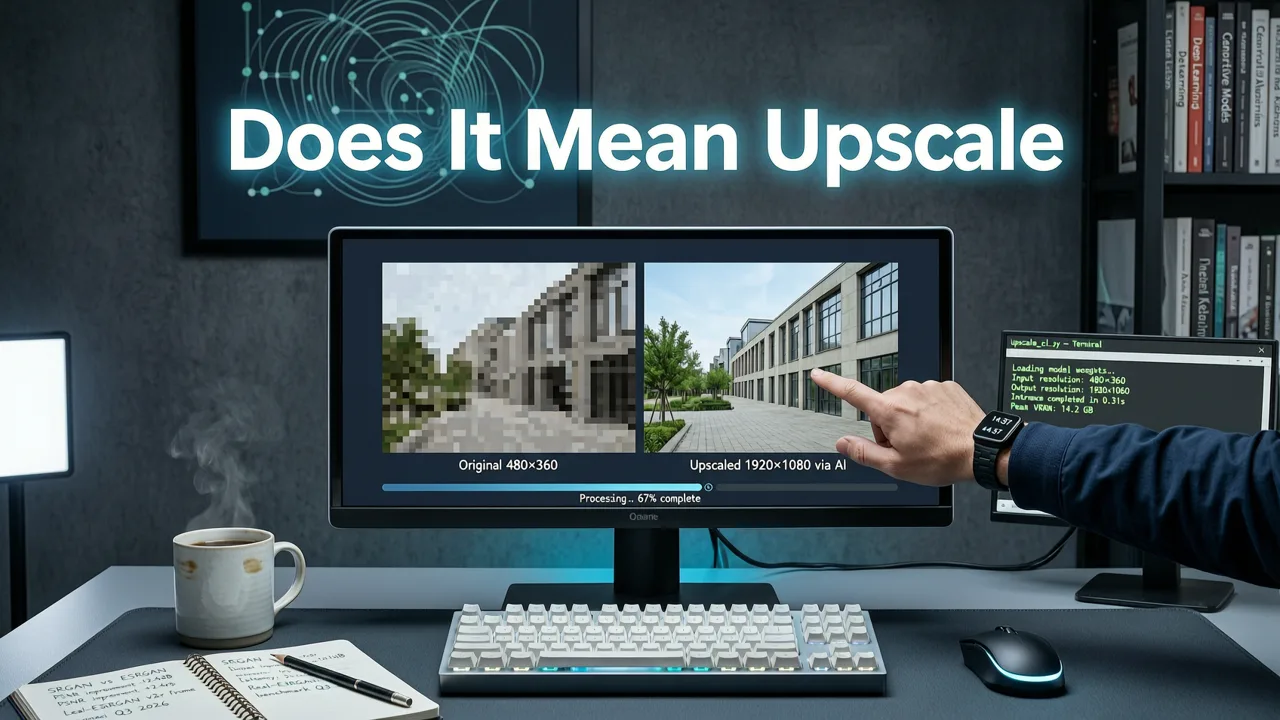
If you've ever tried to print a small photo, zoom into a detail, or share a cropped image online — only to see a blocky, pixelated mess — you already know the frustration of working with a low-resolution file. Upscaling a low-resolution image means increasing its pixel dimensions while preserving (or even improving) the visual quality. In 2026, AI-powered tools like Pixelift make this process nearly instant, so you can turn a tiny, blurry file into a crisp, print-ready image without touching a single slider.
The short answer: yes, you can upscale a low-resolution image in 2026 without noticeable quality loss. Modern AI models don't just stretch pixels — they reconstruct missing detail based on patterns learned from millions of high-resolution photographs. Below, we'll walk through exactly how the technology works, when to use it, and the step-by-step process for getting the best results.
Why 2026 Is the Best Year Yet to Upscale Low Resolution Images
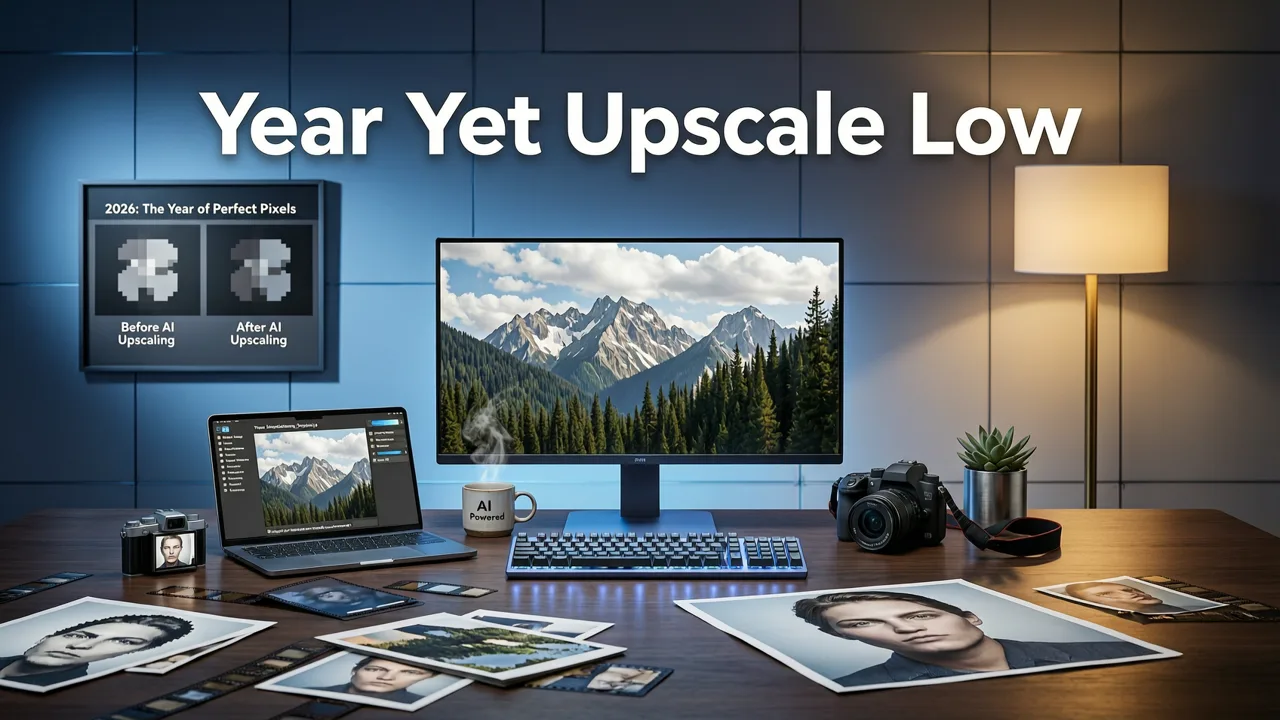
Every year, AI upscaling gets smarter. But 2026 marks a genuine leap for three key reasons:
- Diffusion-based super-resolution models now generate realistic skin texture, fabric weave, and foliage detail that older interpolation methods simply couldn't invent.
- On-device neural engines in phones and browsers mean you can upscale images locally — no uploads required for privacy-sensitive files.
- Context-aware restoration lets tools like Pixelift distinguish between a portrait, a product shot, and a vintage scan, then apply the right enhancement strategy automatically.
Compare that to even two years ago, when upscaling often produced a "waxy" or over-smoothed look. Today's models understand what a human face should look like at 4K, so the results feel natural rather than artificial.
How AI Upscales Low Resolution Images: A Step-by-Step Breakdown
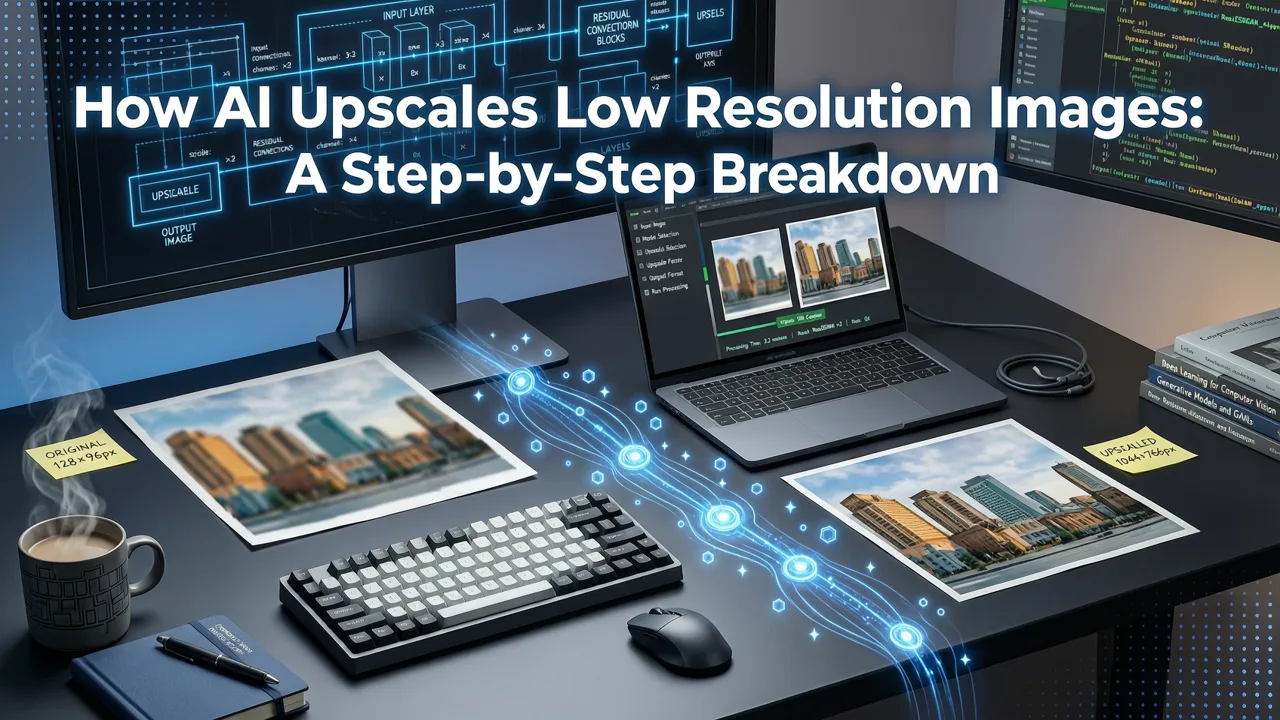
Before we dive into the how-to, it helps to understand what's actually happening under the hood. When you ask an AI tool to upscale a low-resolution image, here's the pipeline it runs through:
Step 1: Upload & Auto-Diagnosis
You drop your image into the tool. The AI immediately analyzes resolution, noise levels, compression artifacts, and subject type. Pixelift, for example, classifies the photo as a portrait, landscape, product, or vintage scan within milliseconds.
Step 2: Upscaling Factor Selection
Based on the diagnosis, the tool selects an optimal scaling factor — typically 2×, 3×, or 4×. Going beyond what the source data can support would create hallucinated detail, so the AI keeps the upscale grounded in what's realistic.
Step 3: Detail Reconstruction
This is where the magic happens. The neural network fills in missing pixels by referencing its training data. Edges are sharpened, textures are rebuilt, and noise is suppressed — all while maintaining the original character of the photo.
Step 4: Post-Processing & Output
Final color correction, contrast balancing, and artifact removal are applied. You download a high-resolution file ready for print, social media, or archival use.
When Should You Upscale a Low Resolution Image?
Not every photo needs upscaling, but there are several common scenarios where it's genuinely useful:
- Printing small photos: A 1-megapixel image looks fine on a phone screen but falls apart on an 8×10 print. Upscaling bridges that gap.
- Cropping for social media: If you crop a group photo down to one person, the remaining image may be too small for Instagram or LinkedIn.
- E-commerce product shots: Sellers often receive low-res images from manufacturers. Upscaling makes them look professional on product pages.
- Old family photos: Scanned prints are often low resolution by default. Upscaling restores clarity before you share them with relatives. For a deeper guide on this, check out our restore old photos online resource.
- Screenshots and screen grabs: UI designers and bloggers frequently need sharper screenshots for tutorials and documentation.
Upscale Low Resolution Image: Traditional Methods vs. AI in 2026
To appreciate how far we've come, let's compare the main approaches side by side.
| Method | How It Works | Quality Result | Speed | Skill Required |
|---|---|---|---|---|
| Bicubic Interpolation | Mathematically smooths and stretches pixels | Soft, blurry edges | Instant | None |
| Lanczos Resampling | Advanced math-based resizing with sharper edges | Better than bicubic but still flat | Instant | None |
| Photoshop Super Resolution | Adobe's early AI-assisted upscaler | Decent for moderate upscales | A few seconds | Moderate |
| AI Upscalers (Pixelift, 2026) | Diffusion-based neural networks reconstruct detail | Near-native quality at up to 4× | 2–5 seconds | None |
The difference is stark. Traditional methods redistribute existing pixels. AI upscalers actually generate new, plausible detail — which is why a 480p portrait can come out looking like it was shot on a modern mirrorless camera.
How to Upscale a Low Resolution Image Using Pixelift
Pixelift is designed for people who want results fast, without learning Photoshop. Here's the full workflow:
- Open Pixelift in your browser or on the iOS app.
- Upload your image. Drag and drop a low-resolution file — JPEG, PNG, or even a scanned TIFF.
- Select your upscale factor. Choose 2×, 3×, or 4× depending on your needs.
- Let the AI process. In under five seconds, the model reconstructs detail, sharpens edges, and balances color.
- Preview & compare. Use the before-and-after slider to confirm the improvement.
- Download your enhanced image in full resolution.
That's it. No layers, no masks, no technical jargon. If you're dealing with photos pulled from iCloud that look soft or compressed, you might also find our guide on how to fix blurry iCloud photos online helpful.
Tips for Getting the Best Results When You Upscale
Even the best AI tool performs better when you feed it quality input. Follow these tips to maximize your results:
- Start with the highest-quality source available. If you have both a compressed JPEG and a lossless PNG of the same image, use the PNG.
- Don't over-upscale. Pushing a 200×200 pixel thumbnail to 4× will produce artifacts. Stick to 2× or 3× for very small sources.
- Remove distractions first. Pixelift's Magic Remover can clean up background clutter before you upscale, so the AI isn't trying to reconstruct irrelevant noise.
- Use Creative Presets for style. If you're upscaling a portrait for social media, apply a preset to add warmth or cinematic tone after the upscale.
- Batch similar images. If you're processing a set of product photos, upscale them all at the same factor for visual consistency.
Common Myths About Upscaling Low Resolution Images
Let's bust a few misconceptions that still circulate online:
"You can't add detail that wasn't there."
This was true in 2020. In 2026, generative AI models reconstruct plausible detail — individual eyelashes, fabric threads, brick textures — based on learned patterns. The result isn't a "guess" in the random sense; it's an informed reconstruction that matches how real-world subjects look at higher resolutions.
"AI upscaling always looks fake."
Early AI upscalers did produce an uncanny smoothness. Today's models are trained to preserve natural imperfections like skin pores, film grain, and slight lens softness, so the output feels authentic.
"Upscaling is only for old photos."
While vintage photo restoration is a popular use case — and we have a full guide on the best AI tool to restore iCloud photos — upscaling is equally valuable for modern product photography, real estate listings, and social media content.
"I need Photoshop skills to upscale properly."
Not anymore. Tools like Pixelift handle the entire pipeline automatically. You upload, select a factor, and download. No curves, no noise reduction sliders, no sharpening masks.
Upscale Low Resolution Image: Real-World Use Cases
To make this practical, here are a few real-world scenarios where upscaling makes a tangible difference:
E-Commerce Product Photography
A small business owner receives 800×600 pixel product images from a supplier. After upscaling to 3200×2400 with Pixelift, the photos look sharp on desktop and mobile — boosting click-through rates and reducing returns caused by misleading images.
Family Photo Restoration
A scanned 1960s family portrait measures just 1200×900 pixels after scanning. Upscaling to 4800×3600 makes it suitable for a large canvas print. Pair the upscale with Pixelift's restoration features to fix fading and scratches — or explore our guide on how to restore faded family photos from iCloud if your originals are stored digitally.
Social Media Content Creation
A content creator crops a wide landscape shot down to a square profile image. The result is only 500×500 pixels. A quick 3× upscale brings it back to a crisp 1500×1500, perfect for Instagram and LinkedIn.
What to Look for in an AI Upscaling Tool in 2026
Not all upscalers are created equal. When evaluating a tool, keep these criteria in mind:
- Upscale factor flexibility: Can you choose 2×, 3×, or 4×?
- Subject-aware processing: Does the tool detect whether the image is a portrait, product, or landscape?
- No editing skills required: Is the interface intuitive enough for a complete beginner?
- Additional features: Magic Remover, Creative Presets, batch processing?
- Platform availability: Web app and mobile app for on-the-go editing?
- Privacy: Are your images processed securely and not stored permanently?
Pixelift checks every one of these boxes, which is why it's become a go-to for both casual users and small business owners in 2026.
Frequently Asked Questions
We've gathered the most common questions people ask about upscaling low-resolution images. Quick answers below, and a full FAQ section at the end.
Final Thoughts on Upscaling Low Resolution Images in 2026
Upscaling a low-resolution image no longer means accepting blurry, pixelated output. With AI-powered tools like Pixelift, you can increase image dimensions by 2×, 3×, or even 4× while actually improving perceived quality. Whether you're printing a cherished family photo, sharpening a product shot for your online store, or rescuing a cropped social media image, the technology is fast, accurate, and accessible to everyone — no editing experience required.
Ready to see the difference for yourself? Head over to Pixelift, upload your lowest-resolution image, and watch AI bring it back to life in seconds.