2026-08-25 · 8 min read
AI Magic Remover Tool — Remove Objects Instantly (2026 Guide)
Discover how an AI magic remover tool cleans up photos in seconds. Learn how Pixelift removes distractions, people, and blemishes with one click in 2026.
Recommended next
What Is an AI Magic Remover Tool in 2026?

If you've ever snapped a perfect vacation photo only to notice a trash can, a stranger's elbow, or a pesky power line ruining the shot, you already know the frustration. An AI magic remover tool solves that problem in seconds — it identifies unwanted objects, people, or blemishes in your image and replaces them with contextually accurate background pixels, so your photo looks like the distraction was never there.
In 2026, these tools have moved far beyond the clunky clone-stamp workflows of the past. Modern AI magic removers understand depth, lighting, texture, and perspective, which means the results look natural even on complex scenes like crowded streets, textured walls, or reflective surfaces. Whether you're cleaning up a product shot for your online store or removing a photobomber from a family portrait, the best tools handle it with a single brush stroke — no Photoshop skills required.
Why 2026 Is the Best Year Yet to Use an AI Magic Remover Tool
Several shifts in AI research and consumer tooling have made object removal faster, smarter, and more accessible than ever before:
- Diffusion-based inpainting models now generate background content that matches surrounding pixels with near-perfect consistency, even in challenging areas like hair, water, and foliage.
- On-device processing means many tools, including mobile apps, can run removal tasks locally without uploading your photos to a server — great for privacy and speed.
- Semantic understanding lets the AI distinguish between a person you want to keep and a person you want to remove, reducing accidental edits.
- Batch processing is now standard in premium tools, so you can clean up dozens of product photos in one session.
These advances mean that everyday users — not just professional retouchers — can achieve magazine-quality results in just a few clicks.
How an AI Magic Remover Tool Works: A Step-by-Step Breakdown
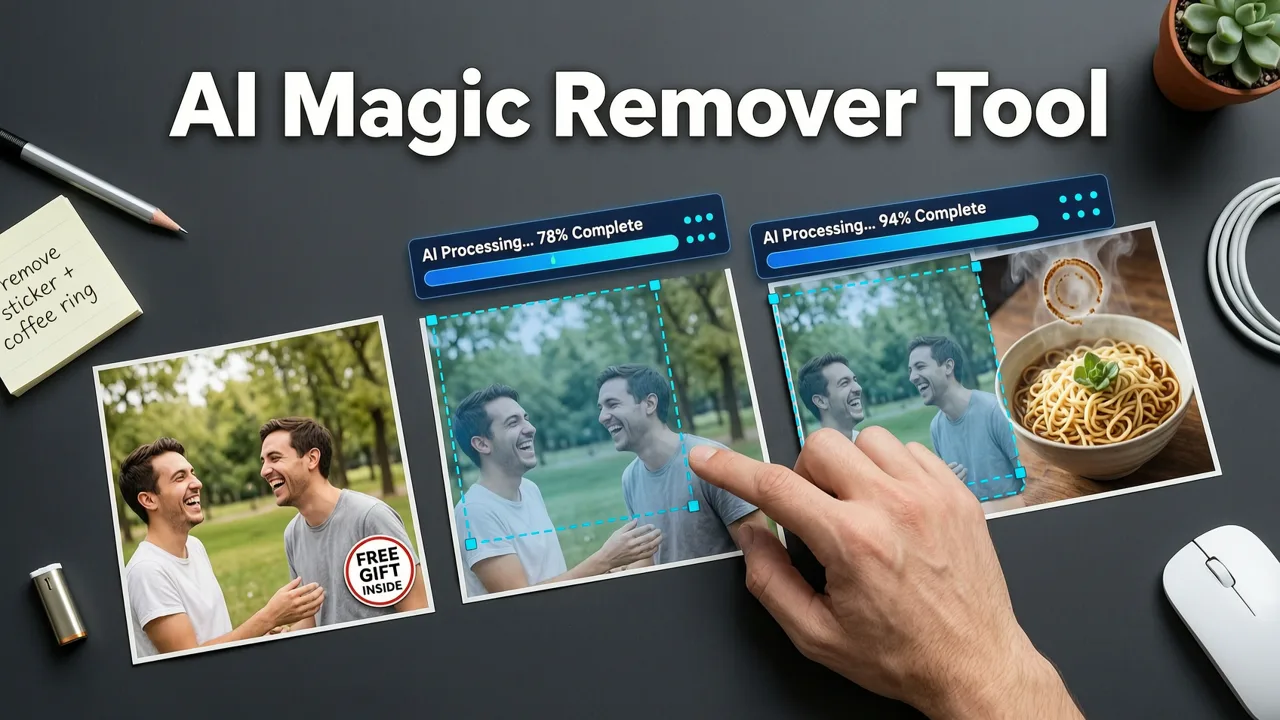
Understanding what happens behind the scenes helps you get better results. Here's a simplified look at the pipeline most leading tools follow in 2026.
Step 1: Upload Your Photo
Start by uploading the image you want to edit. Most tools accept JPEG, PNG, HEIC, and even RAW formats. The AI performs a quick analysis of the image dimensions, color profile, and content layout.
Step 2: Select the Unwanted Object
Use a brush, lasso, or even a text prompt to highlight the area you want to remove. Some tools offer an auto-detect mode that identifies common distractions like people, text overlays, watermarks, and power lines automatically.
Step 3: AI Inpainting & Context Generation
The AI analyzes the pixels surrounding your selection, maps the scene's depth and lighting, and generates new content that fills the gap. This is where diffusion models shine — they don't just copy nearby pixels; they understand what should logically be behind the removed object.
Step 4: Review & Fine-Tune
Preview the result at full zoom. If any edge looks off, a quick re-brush usually fixes it. Premium tools let you adjust feathering, opacity, and edge softness for pixel-perfect control.
Step 5: Download or Continue Editing
Once you're happy, export the cleaned image in your preferred resolution. Many users then run the photo through an old photo restoration workflow or an upscaler to finish the job.
Pixelift's Magic Remover: Built for Speed and Simplicity
Pixelift includes a dedicated Magic Remover designed for people who want fast, clean results without a learning curve. Here's what sets it apart:
- One-click object removal — brush over the distraction and let the AI handle the rest.
- Smart edge detection — the tool respects boundaries between subjects and backgrounds, so you never accidentally erase part of a person or product.
- Works on any photo type — portraits, product photography, real estate shots, social media images, and restored family photos pulled from iCloud.
- Web and iOS access — edit on your laptop or directly from your phone.
The Magic Remover pairs naturally with Pixelift's other tools. After removing a distraction, you can sharpen the image, enhance colors, or apply a creative preset — all within the same workflow.
Common Use Cases for an AI Magic Remover Tool
Object removal isn't just for fixing vacation snapshots. Here are the scenarios where users get the most value in 2026.
Product Photography for E-Commerce
Dust specks, reflective glare, and stray background items can make product photos look unprofessional. A magic remover cleans these up instantly, saving you from costly reshoots. Pair the cleaned image with an AI upscaler for crisp, marketplace-ready results.
Social Media Content
Whether it's an unwanted sign in the background of your Instagram story or a photobomber in a group selfie, quick object removal keeps your feed polished. Creators who post daily rely on these tools to maintain quality without spending hours in editing software.
Real Estate and Interior Photography
Clutter, cables, and personal items can distract potential buyers. Agents and photographers use magic removers to declutter rooms virtually, making spaces look larger and more appealing.
Old Photo Restoration
Scanned family photos often have tears, stains, or unwanted objects from the original frame. Combining a magic remover with a dedicated photo restoration tool gives you a complete before-and-after transformation.
Portrait Retouching
Blemishes, stray hairs, and background distractions can be removed without affecting skin texture or facial features. The result is a natural-looking portrait that still feels authentic.
AI Magic Remover Tool Comparison: What to Look For in 2026
Not all removal tools are created equal. Here's a comparison framework to help you evaluate your options.
| Feature | Pixelift Magic Remover | Traditional Desktop Editors | Free Online Alternatives |
|---|---|---|---|
| Processing Speed | Seconds | Minutes to hours | Varies, often slow |
| AI-Powered Inpainting | Yes — diffusion-based | Limited or manual | Basic patch-fill |
| Edge & Detail Accuracy | High | Depends on skill | Low to medium |
| Batch Processing | Yes | Via scripts or actions | No |
| Mobile App | iOS | Rarely | Browser only |
| No Editing Skills Needed | Yes | No | Partially |
| Integrated Enhancement Suite | Yes — sharpen, upscale, presets | Separate plugins needed | No |
The key takeaway: dedicated AI tools like Pixelift are purpose-built for speed and ease, while traditional editors offer more granular control at the cost of time and expertise. For most users in 2026, the AI-first approach delivers 90 percent of the results in 10 percent of the time.
Tips for Getting the Best Results with an AI Magic Remover
Even the smartest AI benefits from a little user guidance. Follow these tips to maximize quality.
Use High-Resolution Source Images
The more pixel data the AI has to work with, the better the inpainted result. If your source image is low-resolution, run it through an upscaler first. Pixelift's blurry photo fixer can help before you start removing objects.
Make Precise Selections
Zoom in and brush tightly around the object. Over-selecting large areas of background can confuse the AI and produce softer results. Smaller, more accurate selections yield sharper inpainting.
Handle Complex Edges in Stages
If you're removing an object near hair, foliage, or fine detail, work in passes. Remove the bulk of the object first, then refine the edges in a second pass.
Check Results at 100% Zoom
What looks fine at a thumbnail size may reveal artifacts when viewed closely. Always inspect your work at full resolution before exporting.
Leverage Batch Mode for Repetitive Tasks
If you're cleaning up a product catalog or a set of event photos, use batch processing to apply the same removal pattern across multiple images. This saves enormous time compared to editing one file at a time.
Privacy and Ethical Considerations
As AI editing tools become more powerful, it's worth thinking about how you use them. Removing a distracting object from your own photo is perfectly fine. Using these tools to mislead — for example, altering evidence, fabricating scenes, or deceiving viewers about a product's condition — crosses an ethical line.
Reputable tools follow responsible AI guidelines similar to those outlined by organizations like Google's AI responsibility framework and OpenAI's usage policies. Pixelift is designed for personal and commercial photo enhancement, not for generating deceptive content. Always use object removal tools ethically and transparently.
How to Get Started with Pixelift's Magic Remover Today
Getting started takes less than a minute:
- Visit aienhancephoto.com or open the Pixelift iOS app.
- Upload the photo you want to edit.
- Select the Magic Remover tool and brush over the object you want to eliminate.
- Let the AI process the image — results appear in seconds.
- Review, fine-tune if needed, and download your cleaned photo.
That's it. No tutorials, no complex menus, no prior editing experience. Pixelift was built by Devsrank with one goal: make professional-grade photo editing accessible to everyone.
Final Thoughts
An AI magic remover tool is one of the most immediately useful photo editing utilities you can add to your workflow in 2026. Whether you're a small business owner cleaning up product shots, a parent fixing family photos, or a content creator polishing your social feed, the technology is mature enough to deliver reliable, natural-looking results in seconds.
Pixelift's Magic Remover combines speed, accuracy, and simplicity into one streamlined experience — and it integrates seamlessly with the rest of Pixelift's enhancement suite so you can sharpen, upscale, and restyle your photos without switching between apps. Try it today and see the difference a clean, distraction-free photo makes.